
How to Grow Microgreens
Go from seed to harvest in just a few weeks

Last updated: March 27, 2025 | 4 min read
 If you use a grow light, your microgreens will grow faster.
Photos and project by David Grist and Deborah Miuccio
Check the menu of a fine restaurant or the produce section of a specialty grocery store, and you're likely to spy microgreens: tiny, delicate greens that add color, texture and flavor to a variety of foods as a garnish or ingredient.
Big on nutrition and flavor, microgreens can be expensive to purchase. But they can also be grown cost-effectively at home, in a tiny space and with simple supplies. If you have a sunny windowsill, a shallow container, some potting mix and suitable seeds, you've got all the essentials for growing your own microgreens. This is a great crop for urban gardeners who are limited to a windowsill, balcony or fire escape.
What are Microgreens?
Also known as "vegetable confetti," microgreens are sometimes confused with sprouts — germinated seeds that are eaten root, seed and shoot. Microgreens, however, include a variety of edible immature greens, harvested with scissors less than a month after germination, when the plants are up to 2 inches tall. The stem, cotyledons (or seed leaves) and first set of true leaves are all edible.
Best Plants for Microgreens
Salad greens, leafy vegetables, herbs and even edible flowers can be grown as microgreens, though some varieties are better suited than others. Beginners often start by growing one type of seed, such as broccoli, cauliflower, cabbage, mustard, chia, sunflower or buckwheat — among the easiest-to-grow varieties of microgreens — in a single container. (You can easily grow different seeds in several containers, and mix your microgreens after harvesting.)
You can also find seeds for salad mixes and specially selected microgreen mixes that combine greens with similar growth rates, compatible flavors and beautiful coloring including reds, purples and greens. Since they were created with grower success in mind, they're also a good choice for beginners.
If your climate is suitable, microgreens can be also be grown outdoors in the garden, under shade. Like all fragile seedlings, you'll need to protect them from weather extremes and drying winds, not to mention hungry garden pests.
How to Plant Microgreens
Start with a warm, sunny windowsill (direct sunlight from a south-facing window is ideal) and a small, clean container. Plastic take-out dishes and disposable pie plates work well, as do clear fruit or salad boxes. If your chosen container doesn't have built-in drainage, poke a few drainage holes in the bottom. Then, prepare to plant:
- Read the seed packet to see if there are any special instructions.
- Cover the bottom of the container with an inch or two of moistened potting soil or mix. Flatten and level it with your hand or a small piece of cardboard, taking care not to over-compress the soil.
- Scatter seeds evenly on top of the soil. Press gently into the soil using your hand or the cardboard.
- Cover the seeds with a thin layer of soil. Dampen the surface with a mister. If you prefer, you can skip this step and instead cover the container with a clear lid or plastic wrap until the seeds are sprouted.
- Water daily with a mister to keep the soil moist but not wet.
- Uncover after seeds have sprouted; usually within 3-7 days. Once seeds have sprouted, remove the cover (if you've used one) and continue to mist once or twice a day.
Microgreens need about four hours daily of direct sunlight to thrive. In winter months, some may need even more. Leggy, pale greens are a sign of not enough sunlight. Light needs can also be satisfied with a grow light.
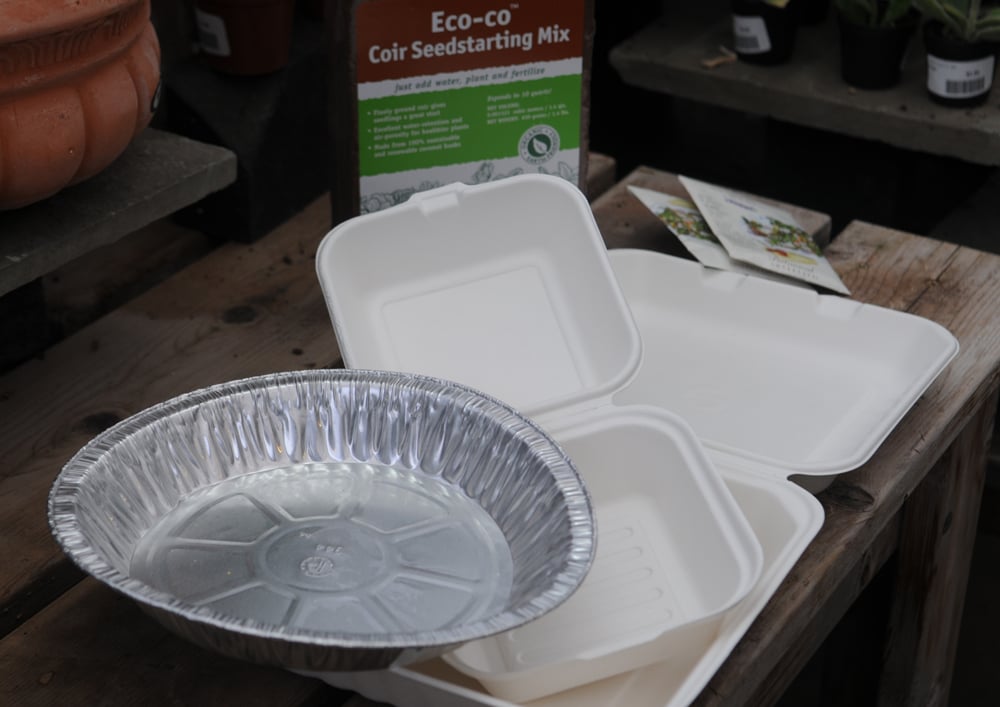 Just about any kind of wide, shallow tray will work for growing. We found that pie tins work especially well.
 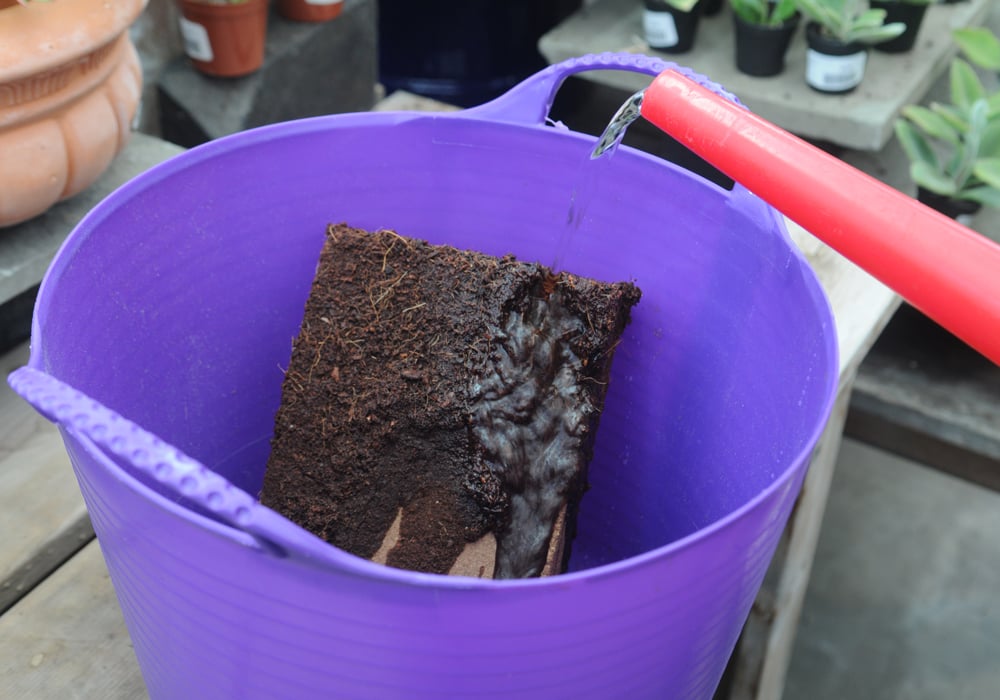 Instead of traditional potting soil, we used Eco-Co® Coir Seedstarting Mix. It comes in a compressed brick that you reconstitute with water until it's moist but not soaked.
 A shallow layer of soil is all you need. We used an inch of coir, packed just a bit.
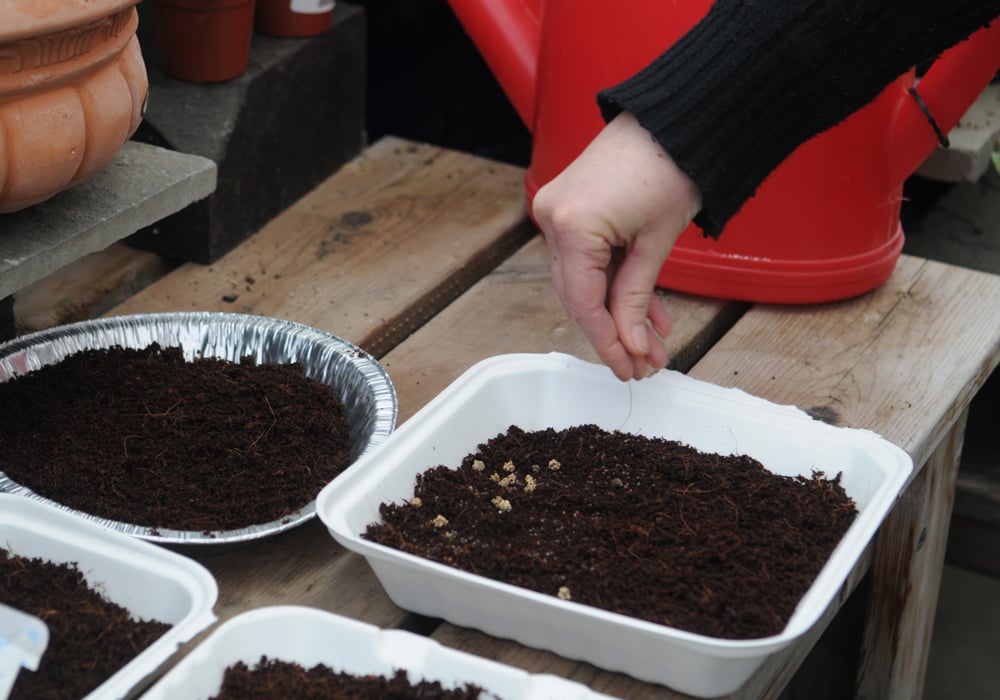 We chose a blend of seeds that was selected for growing as microgreens. Sprinkle the seeds on the soil surface.
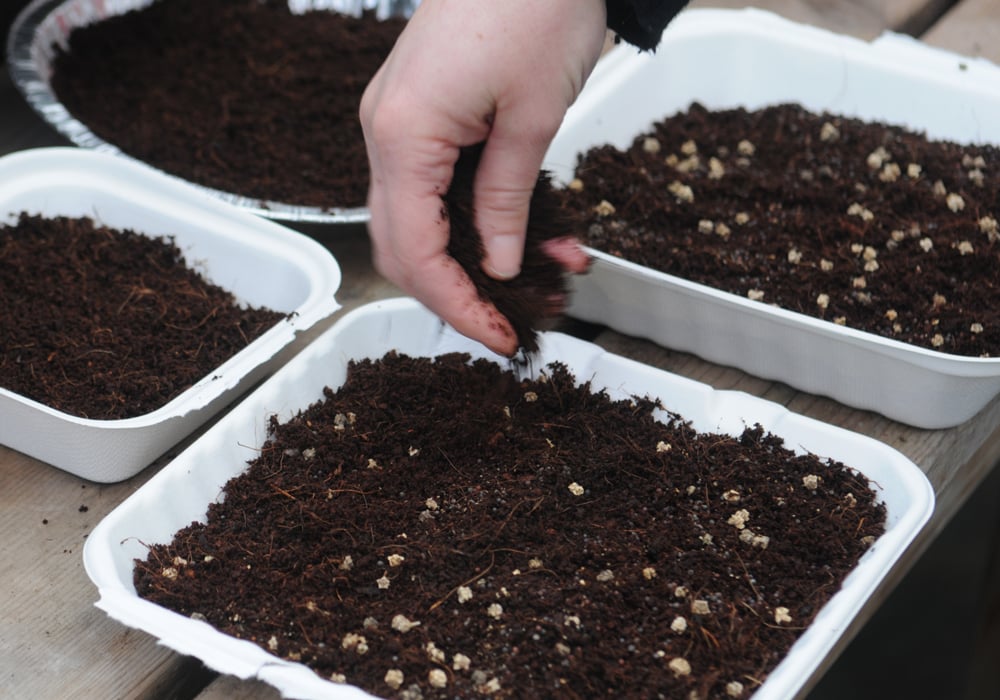 Cover the seeds by sprinkling them with a thin layer of soil. Use your hand to firm the soil surface.
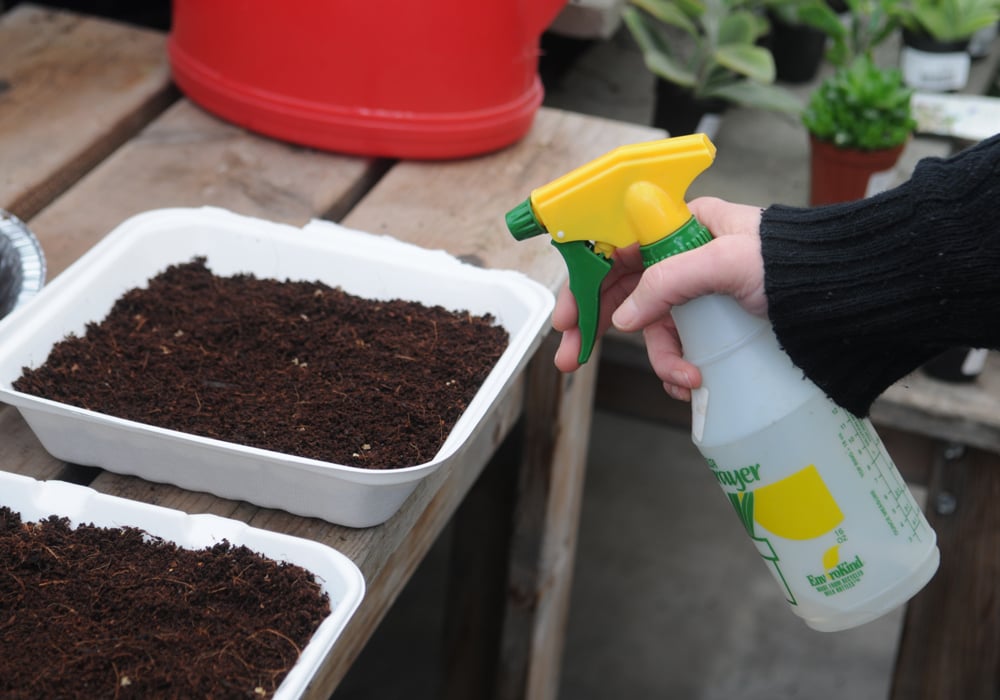 Water the seedlings with a sprayer. Cover the tray with a plastic dome or plastic wrap.
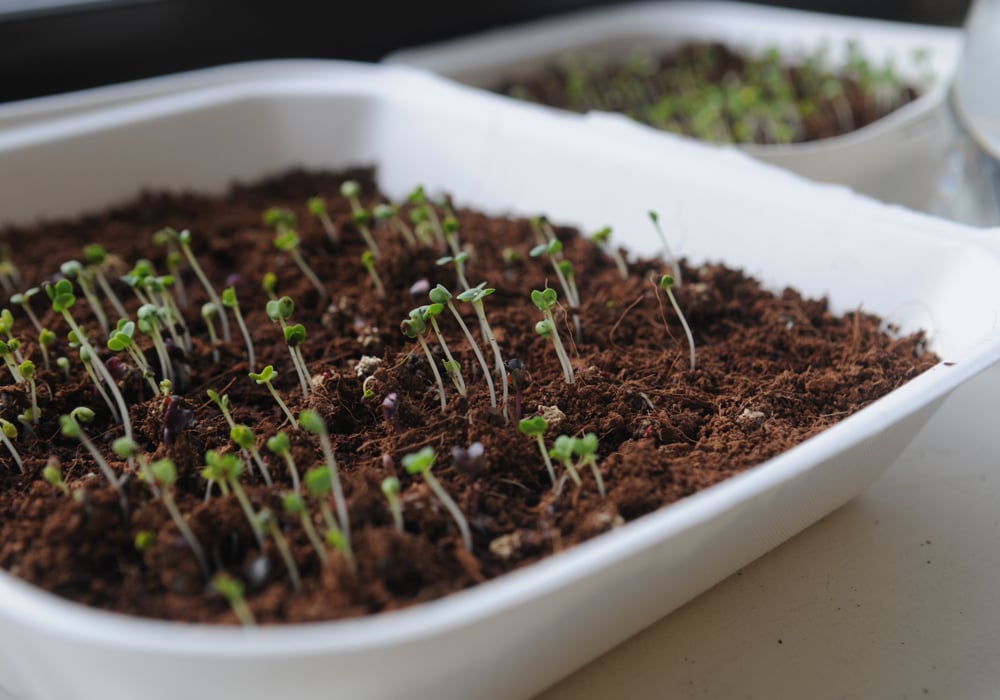 When the seeds have germinated, remove the cover. If you're growing on a windowsill, rotate the trays periodically so seedlings don't lean into the figcaptionght.
 Water regularly, making sure the seedlings don't dry out. Depending on your soil mixture and light, you might have to water every day or so. You can use a sprayer or a watering can.
 Microgreens are fragile, yet resilient. This tray of seedlings collapsed after going without water for too long. After we watered them, the tiny plants rebounded quickly.
 The crop is ready to harvest when true leaves form. Plants are usually about 2 inches tall.
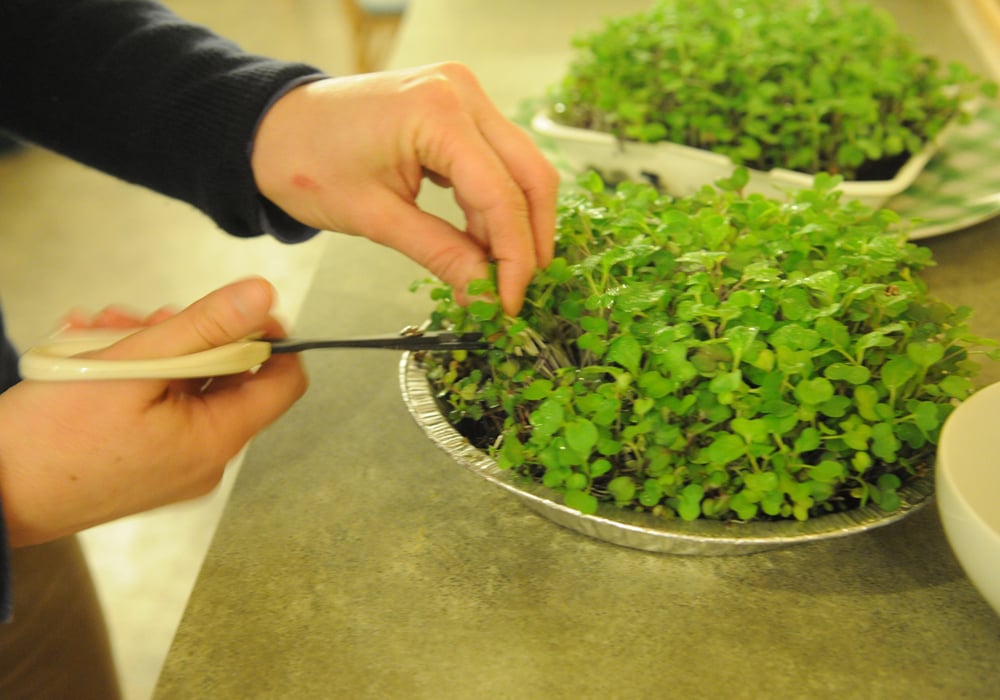 Use scissors to trim the greens right at the soil level.
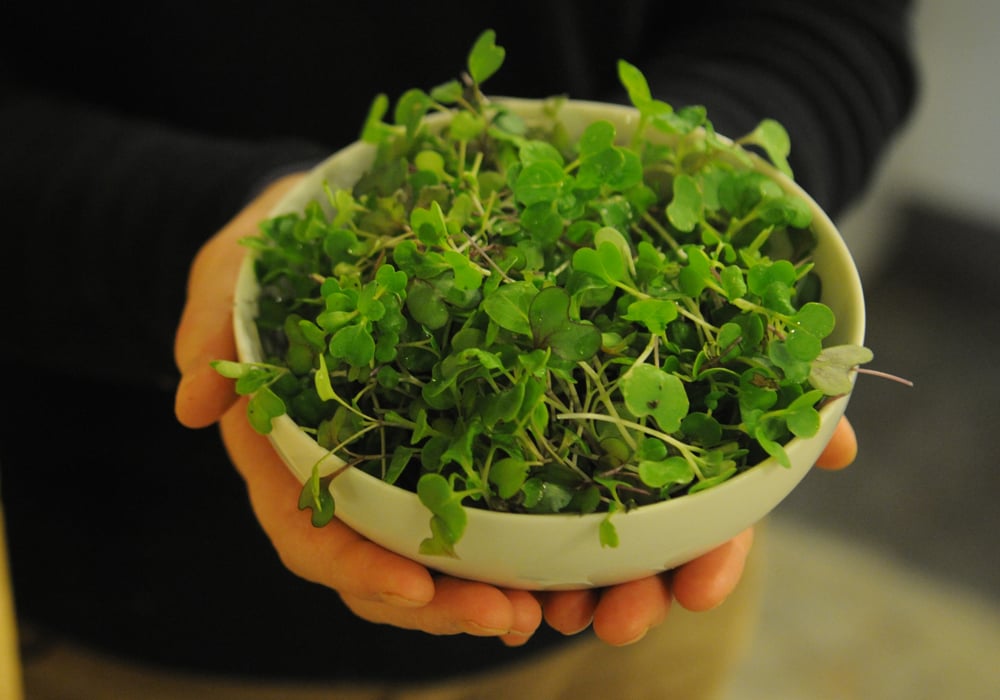 Rinse the harvest and it's ready to eat. Use it to garnish entrees, or mix it with full-grown salad greens.
When to Harvest Microgreens
Depending upon the type of seeds you've selected, your microgreens will be ready to harvest about 2-3 weeks after planting. Look for the first set of "true leaves" as a sign of readiness. Then grab your scissors and snip the greens just above the soil line.
To serve, wash the microgreens with water and dry with paper towels or a salad spinner. Harvest and serve them immediately for the freshest flavor, and add to soups, salads, sandwiches or main dishes. Store remaining cut microgreens in a plastic bag in your refrigerator.
Print this Article:
Get the Dirt
Stay up to date on new articles and advice. Please fill out the information below.