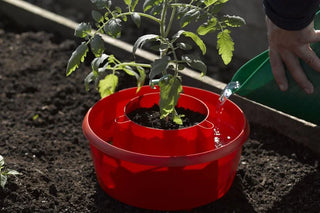
The exclusive Tomato Halo delivers water directly to plant roots while suppressing weeds and thwarting cutworms. The raised inner pot adds planting depth for stronger root systems. The versatile design allows you to use your favorite tomato support. A Tomato Ladder fits into the built-in support channels, or a Tomato Cage fits around the Halo.
Preparation and Planting
Step 1.
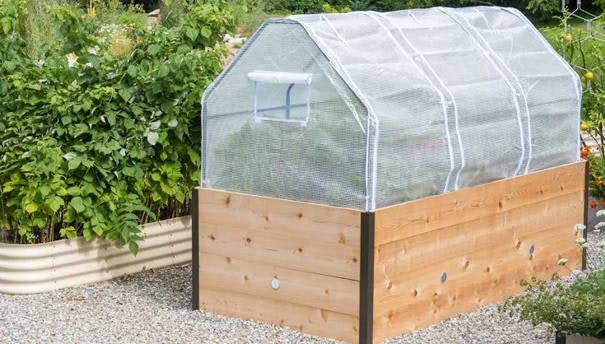
The Tomato Halo may be used in a raised bed, a container, or right in the garden. Prepare the planting site by loosening soil to a depth of 6 inches, adding compost or other amendments, as desired. Tomato plants grow best with plenty of nutrients. For best results, add a slow-release granular fertilizer, such as GSC Organic Tomato Fertilizer.
Step 2.
Moisten an additional 3 quarts of soil or Container Mix and set aside.
Step 3.
Press the Tomato Halo firmly into the soil and ensure that all the spikes are fully buried.
Step 4.
Position your tomato plant in the center of the halo so that the top two or three sets of leaves are above the center ring. Holding the plant in place, fill the inner pot with soil or Container Mix from Step 2 to within 1.5" of the top.
Step 5.
If using a Tomato Ladder, insert its legs through the three support channels and push it down until the bottom rung is resting on the halo. If using a Tomato Cage, place it around the halo and push the legs into the soil until the bottom rung rests on the ground.
Step 6.
Add enough water to the inner pot to settle the soil. Note: To encourage root growth, water only the inner pot for the first two weeks and do not add water to the outer water ring.

Watering and Fertilizing
Tomatoes require plenty of water and nutrients to stay healthy and produce heavy crops. Keep the soil in the inner pot moist at all times. Add water to the outer ring to keep the root zone evenly moist. As plants grow, increase the watering frequency. Add water-soluble fertilizer, such as Plant Health Care, to the inner pot weekly, following package directions.